Welcome to the world of Rust WebAssembly! In this tutorial, we will delve into the fascinating realm of combining Rust and WebAssembly to create blazing fast and secure web applications. Join us as we unlock the potential of this powerful duo and learn how to harness their magic for your own projects. Let’s embark on this exciting journey together!
Target audience for this tutorial
The target audience for this Rust WebAssembly tutorial is individuals who are interested in learning how to use Rust to develop web applications. This tutorial assumes that readers have a basic understanding of web development concepts such as HTML, CSS, and JavaScript. It is also helpful if readers have some prior experience with programming languages, although it is not necessary to be an expert.
This tutorial aims to provide a step-by-step guide on how to get started with Rust and WebAssembly. It will cover topics such as setting up the Rust toolchain, compiling Rust code to WebAssembly, and integrating WebAssembly modules into existing web applications. The tutorial will also provide explanations and examples to help readers understand the concepts and implementation details.
By the end of this tutorial, readers will have a solid understanding of how to use Rust and WebAssembly to build efficient and high-performance web applications. They will be able to leverage the power of Rust’s strong typing and memory safety features, combined with the versatility of WebAssembly, to create web applications that are both fast and reliable.
Getting started with Rust and WebAssembly
Rust and WebAssembly are powerful tools for creating high-performance web applications. To get started with Rust and WebAssembly, you’ll need to set up a development environment.
First, install Rust using the official Rustup toolchain. This will also install Cargo, Rust’s package manager.
Next, you’ll need to install the WebAssembly target. Use the command “rustup target add wasm32-unknown-unknown” to install the necessary toolchain.
Once you have the toolchain set up, you can start writing Rust code and compiling it to WebAssembly.
To compile Rust code to WebAssembly, use the command “cargo build –target wasm32-unknown-unknown”. This will generate a WebAssembly binary file.
To use the WebAssembly code in a web application, you’ll need to create an HTML file and include the necessary JavaScript code.
You can then import and use the WebAssembly code in your JavaScript code.
With Rust and WebAssembly, you can create fast and efficient web applications that are compatible with all major web browsers.
Keep in mind that learning Rust and WebAssembly may require some experience with programming languages and web technologies.
Consider referring to books, online tutorials, and open-source projects to further enhance your understanding.
By mastering Rust and WebAssembly, you’ll be able to build powerful web applications and contribute to the growing ecosystem of WebAssembly-powered tools and libraries.
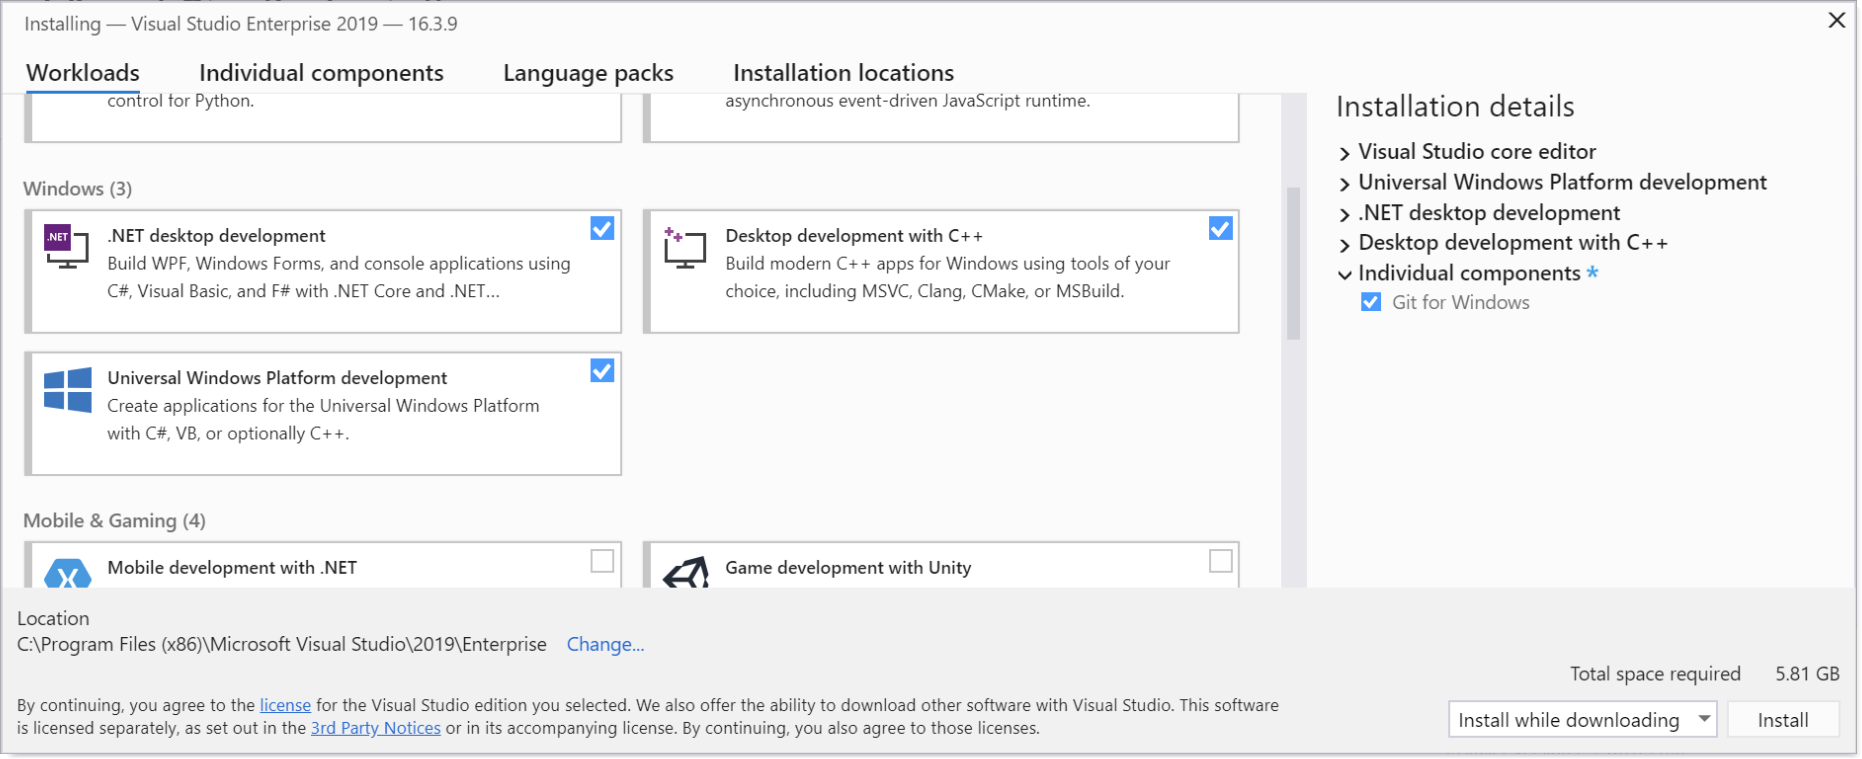
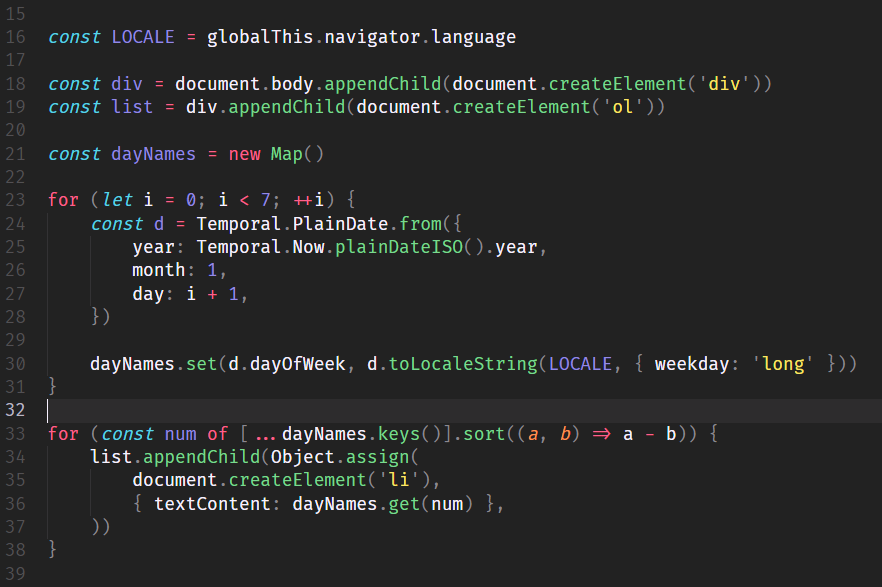
Setting up the Rust environment
![]()
To set up the Rust environment for WebAssembly development, you’ll need a few tools and libraries. First, make sure you have Rust installed on your system. You can download and install it from the official Rust website. Once Rust is installed, you’ll also need to install the WebAssembly target. This can be done using the rustup tool by running the command “rustup target add wasm32-unknown-unknown”.
Next, you’ll need a package manager called “wasm-pack”. This tool simplifies the process of building, testing, and publishing Rust-generated WebAssembly crates. You can install wasm-pack by following the installation instructions on its official website.
Additionally, you’ll want to set up a text editor or integrated development environment (IDE) for writing your Rust code. There are several options available, such as Visual Studio Code with the Rust extension, IntelliJ IDEA with the Rust plugin, or the Rust Language Server for Sublime Text.
Once you have all the necessary tools and libraries installed, you can start writing Rust code for WebAssembly. You can create a new Rust project using the “cargo” command, and then write your code in the source files generated by Cargo. To build your code into WebAssembly, you can use the “wasm-pack” command.
Installing Rust
To install Rust for WebAssembly development, follow these steps:
1. Start by ensuring that you have Rust installed on your system. If you don’t have it, visit the official Rust website and download the installer specific to your platform.
2. Once Rust is installed, open your terminal or command prompt and run the following command to install the WebAssembly target: rustup target add wasm32-unknown-unknown. This will add the necessary tools and libraries for WebAssembly compilation.
3. To compile your Rust code into WebAssembly, navigate to your project directory in the terminal and run the command cargo build –target wasm32-unknown-unknown. This will generate the WebAssembly binary file.
4. After the compilation is complete, you can use the resulting WebAssembly file in your web application. You can load it using JavaScript and interact with it through APIs.
5. To optimize the size of your WebAssembly file, you can use tools like wasm-opt or wasm-gc. These tools remove unnecessary code and reduce the file size.
That’s it! You are now ready to start developing with Rust and WebAssembly.
Using wasm-pack to build WebAssembly packages
Using wasm-pack is a powerful tool for building WebAssembly packages in Rust. It simplifies the development process by handling the compilation and bundling of your Rust code into a WebAssembly module.
To get started, make sure you have Rust and wasm-pack installed on your machine. You can install wasm-pack using the Cargo package manager by running “cargo install wasm-pack”.
Once you have wasm-pack installed, navigate to your Rust project directory and run “wasm-pack init” to initialize a new WebAssembly project. This will generate the necessary files and directories for your project.
Next, you can write your Rust code in the src directory. Keep in mind that any functions you want to export to JavaScript should be marked with the #[wasm_bindgen] attribute.
After you have written your code, you can build your WebAssembly package by running “wasm-pack build”. This will compile your Rust code into WebAssembly and generate a JavaScript wrapper that can be used to interact with your WebAssembly module.
Finally, you can use your WebAssembly package in a web application by importing the generated JavaScript wrapper and calling the exported functions in your JavaScript code.
Using wasm-pack simplifies the process of building WebAssembly packages in Rust, making it easier to take advantage of the performance benefits of WebAssembly in your web applications.
Writing Rust code for WebAssembly
To get started, you’ll need to have Rust installed on your system. If you haven’t done so already, you can find detailed installation instructions in the official Rust documentation. Once Rust is set up, you can use Cargo, Rust’s package manager, to create a new project for your WebAssembly code.
To write Rust code that can be compiled into WebAssembly, you’ll need to use the wasm32-unknown-unknown target. This target specifies the architecture and operating system you’re compiling for, which in this case is WebAssembly running in a browser. You can set the target using the “–target” flag when running Cargo commands.
Next, you can write your Rust code as you would for any other Rust project. Keep in mind that certain features and libraries may not be available in the WebAssembly environment. It’s important to be aware of these limitations and avoid using unsupported features or libraries.
Once you have your Rust code written, you can use Cargo to build it into a WebAssembly module. This module can then be loaded and executed in a web page using JavaScript. There are several tools and libraries available to help with this process, such as wasm-pack and wasm-bindgen.
Communicating between Rust and JavaScript using wasm-bindgen
In this Rust WebAssembly tutorial, we will explore how to communicate between Rust and JavaScript using wasm-bindgen. This powerful tool allows seamless integration of Rust code into web applications.
To start, you’ll need a basic understanding of Rust and JavaScript. If you’re new to Rust, consider reading a book or taking an online course to familiarize yourself with the language. Similarly, if you’re not familiar with JavaScript, it’s worth investing some time in learning the basics.
Once you have a grasp of both languages, you can begin by setting up your development environment. Make sure you have Rust and wasm-pack installed, as well as a text editor of your choice.
Next, we’ll dive into the process of binding Rust functions to JavaScript, allowing for easy interoperability between the two languages. We’ll cover how to pass data between Rust and JavaScript, as well as handle callbacks and exceptions.
Throughout the tutorial, we’ll provide code examples and explain the concepts behind them. By the end, you should have a solid understanding of how to communicate between Rust and JavaScript using wasm-bindgen.
Keep in mind that this tutorial assumes some prior knowledge of web development and programming concepts. If you encounter any issues or have questions, don’t hesitate to consult the official documentation or seek help from the vibrant community of Rust and WebAssembly developers. Happy coding!
Calling external JavaScript functions from Rust
In a Rust WebAssembly tutorial, you can learn how to call external JavaScript functions from your Rust code. This allows you to leverage the power of JavaScript libraries and APIs in your Rust web applications. By integrating JavaScript with Rust, you can create more dynamic and interactive web experiences.
To call external JavaScript functions from Rust, you need to use the `js!` macro provided by the `wasm_bindgen` crate. This macro allows you to write JavaScript code directly in your Rust code and call JavaScript functions from Rust.
First, make sure to import the necessary JavaScript functions or libraries using the `js_import!` macro. This ensures that the JavaScript functions are available in your Rust code.
Next, use the `js!` macro to call the desired JavaScript function. You can pass arguments to the JavaScript function and even receive return values back in Rust.
Keep in mind that when calling JavaScript functions from Rust, you need to handle the interop between the two languages. This includes handling data types, passing arguments correctly, and converting return values.
By mastering the art of calling external JavaScript functions from Rust, you can unlock a whole new level of functionality and possibilities for your web applications. So go ahead and dive into the Rust WebAssembly world and start harnessing the power of both Rust and JavaScript together.
Compiling and deploying WebAssembly code for the web
To begin, you’ll need to have Rust installed on your system. If you haven’t already, you can follow the official Rust installation guide to get set up. Once Rust is installed, you can use the wasm-pack tool to compile your Rust code into WebAssembly modules.
Next, we’ll explore how to integrate your WebAssembly code into a web project. We’ll cover topics such as linking the generated WebAssembly module in your HTML file, interacting with JavaScript and the DOM, and optimizing performance.
Throughout the tutorial, we’ll provide code examples and explanations to help you understand the concepts. We’ll also discuss best practices and potential pitfalls to avoid.
By the end of this tutorial, you’ll have a solid understanding of how to compile and deploy WebAssembly code using Rust. Whether you’re a beginner or an experienced developer, this tutorial will provide you with the knowledge and skills to harness the power of WebAssembly in your web projects. So let’s get started and unlock the full potential of WebAssembly!